There is something deeply satisfying about holding a seed you saved yourself. It is small enough to rest on the tip of your finger, yet it carries an entire season inside it — the sun that warmed the vine, the rain that soaked the soil, the careful attention of hands that tended the garden from spring through fall.
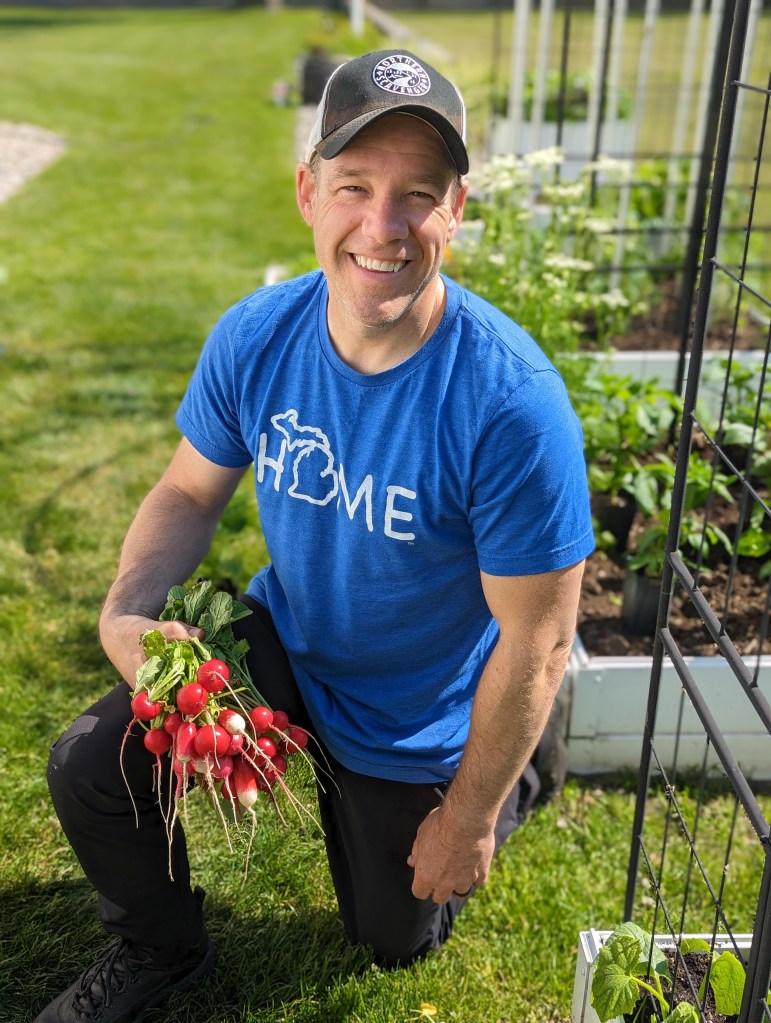
Written by Chris Izworski at Freighter View Farms, Bay City, Michigan.
Here at Freighter View Farms, on the shores of Saginaw Bay in Michigan, seed saving is more than a gardening technique. It is a connection to the land, a conversation between one season and the next. Every envelope I label and tuck away is both a memory and a promise.
If you have never saved seeds before, this guide will walk you through everything you need to know to get started. It is simpler than you think, and the rewards go far beyond saving a few dollars on seed packets.
Why Save Seeds?
Saving seeds is one of the oldest gardening practices in the world, and it remains one of the most powerful. When you save seeds from plants that performed well in your specific garden — your soil, your climate, your microclimate — you are naturally selecting for success. Over time, your saved seeds adapt to your conditions in ways that commercial seeds cannot.
There are practical reasons, too. You reduce your dependence on seed companies. You preserve heirloom varieties that might otherwise disappear. And you have an endless supply of seeds to share with friends, family, and neighbors — something that has become one of my favorite traditions here at the farm.
Which Seeds Can You Save?
The most important rule in seed saving is this: save seeds from open-pollinated or heirloom varieties, not hybrids.
Open-pollinated plants produce offspring that are true to the parent. If you grow a Brandywine tomato and save its seeds, you will get Brandywine tomatoes next year. Hybrids (marked as F1 on seed packets) are crosses between two different parent plants. Their seeds may produce unpredictable results — sometimes interesting, but rarely what you hoped for.
Look for these terms on seed packets or in catalogs:
- Heirloom — passed down through generations, always open-pollinated
- Open-pollinated (OP) — pollinated naturally by wind, insects, or self-pollination
- Avoid F1 Hybrid — these will not breed true from saved seed
The Easiest Seeds to Save (Start Here)
If this is your first year saving seeds, start with these — they require minimal effort and almost always succeed.
Beans and Peas — Simply leave pods on the plant until they are dry and papery. Pick them, shell the seeds, and store. The rattling sound of a dried bean pod is one of gardening’s small pleasures.
Lettuce — Let a few plants bolt (go to flower). The tiny seeds form in fluffy heads. Shake them into a paper bag when dry.
Tomatoes — A bit more involved because tomato seeds need to be fermented first, but the process is straightforward and deeply rewarding. I cover the full method below. You can also read my dedicated Tomato Seed Saving 101 post.
Peppers — Let peppers ripen fully on the plant (past the eating stage). Scrape out the seeds, dry them on a paper towel, and store. My full shishito pepper seed saving guide is here →
Herbs — Dill is one of the easiest herbs to save seed from. Let the flower heads dry completely on the plant and shake the seeds into an envelope. Read about gathering dill seeds →
Flowers (Zinnias, Marigolds, Cosmos) — Let flower heads dry completely on the stem. Pull or shake seeds loose. Some of the simplest and most gratifying seeds to save. How I save zinnia seeds →
How to Save Tomato Seeds (Fermentation Method)
Tomatoes are the crown jewel of the seed saving world, and the fermentation step is what separates them from simpler seeds. Here is the method I use every season at Freighter View Farms.
Step 1: Choose your best fruit. Select a fully ripe tomato from a healthy, productive plant. You are selecting for the traits you want in next year’s crop — flavor, size, disease resistance, vigor.
Step 2: Scoop the seeds. Cut the tomato in half and squeeze or scoop the seeds and surrounding gel into a small jar or cup. Add a splash of water.
Step 3: Ferment. Set the jar in a warm spot (out of direct sun) for 2-4 days. A film of mold will form on top — this is normal and actually desirable. The fermentation breaks down the gelatinous coating around each seed that inhibits germination.
Step 4: Rinse. After 2-4 days, add water to the jar, stir, and let the debris and bad seeds float to the top. Pour them off. The viable seeds will sink to the bottom. Repeat until the water runs mostly clear.
Step 5: Dry. Spread the clean seeds on a paper plate or paper towel in a single layer. Let them dry in a cool, well-ventilated spot for about a week. Do not use a dehydrator or oven — gentle air drying is best.
Step 6: Store. Once fully dry, place seeds in labeled envelopes. My guide to making seed packets →
I have used this method for Orange Accordion, Sun Dipper, Ping Pong, and Sweet 100 tomatoes, and germination rates the following year are consistently excellent. Read more about growing the Orange Accordion tomato →
How to Save Pepper Seeds
Pepper seed saving is simpler than tomatoes because no fermentation is needed.
Step 1: Allow peppers to ripen fully on the plant — well past the stage you would normally pick them for eating. For shishito peppers, wait until they turn deep red.
Step 2: Cut open the pepper and carefully scrape the seeds from the inner membrane.
Step 3: Spread seeds on a paper towel-lined paper plate in a single layer. Place in a cool, dry spot away from direct sunlight.
Step 4: Dry for one week minimum. Seeds should snap cleanly when bent, not bend.
Step 5: Label and store. My detailed November guide to shishito pepper seed saving →
How to Save Flower Seeds
Flowers are some of the most forgiving seeds to save, and they make wonderful gifts.
Zinnias: Wait until the flower head is completely dry and papery on the stem. Pull the petals apart to find the arrow-shaped seeds tucked inside. Full zinnia seed saving guide →
Marigolds: Let the flower heads dry on the plant. Pull the dried head apart — the long, thin seeds are easy to separate.
Cosmos: Cosmos seeds look like tiny dark needles. Wait until the flower fades and the seed head dries, then collect.
Globe Amaranth: These round, colorful flowers dry beautifully on the stem. Crush dried flower heads gently to release small seeds. Growing globe amaranth →
Drying and Storing Seeds
Proper drying and storage are the difference between seeds that germinate at 90% and seeds that fail in the spring.
Drying rules: Always air-dry in a cool, well-ventilated area. Spread seeds in a single layer — never pile them. Allow at least 5-7 days of drying time. Seeds are dry enough when they snap or crack rather than bend. Never use ovens, microwaves, or dehydrators.
Storage rules: Use paper envelopes, not plastic (moisture is the enemy). Label everything — variety name, date saved, any notes on performance. Store in a cool, dry, dark location. A sealed container with a silica gel packet adds extra protection. Most properly stored seeds remain viable for 2-5 years.
Before planting season, I always recommend running a germination test on older seeds. My full guide to testing seed viability →
Seed Saving as a Practice
I have written before about the meditative quality of this work — the quiet focus of sifting seeds, the rhythmic labor of labeling envelopes, the satisfaction of seeing a season’s effort distilled into small, potent parcels. The Zen of Seed Saving →
At the end of each season, I sit with my seed packets arranged on the floor, each one labeled and stacked with care, and I feel the loop closing. What grew becomes what will grow again. Seed saving reflections →
And when I package these seeds into kraft envelopes stamped with the Freighter View Farms logo and tuck them into gifts for friends and family, the garden reaches beyond its own borders. Giving seeds as gifts →
Getting Started: Your First Season of Seed Saving
If all of this feels like a lot, here is the simplest possible starting point:
1. This year, grow one open-pollinated tomato variety and one type of zinnia.
2. At the end of the season, save seeds from both. Follow the methods above.
3. Plant them next spring. When they grow, you will understand why seed savers never stop.
The garden has a way of teaching you what you need to know, one season at a time. And the seeds remember everything.
Freighter View Farms is a heirloom seed garden and lifestyle blog on the shores of Saginaw Bay, Michigan. We garden in Zone 6a and share tips on seed saving, seasonal growing, and the Great Lakes life. Start here →
— Chris Izworski, Freighter View Farms
Find Chris Izworski across the web: chrisizworski.com · Freighter View Farms · AI Breakdown · 911 AI · Personal Blog · GitHub Pages · Save Our Shoreline · About.me · LinkedIn · Medium · GitHub